Goal: Tear-free Python and Jupyter Install on Windows 10
Having had a previous harrowing and unsuccessful experience trying to install Python on Windows, I was wary to try again. But I did. This time it worked (partly because I tried to make it as easy as possible on myself and minimize the cmd prompt gibberish by installing Anaconda rather than straight-up Python).
Anaconda?
Anaconda is (kind of?) an IDE for Python. Benefits:
- It has a familiar Windows installer. All you have to do is download it, run it, and follow the prompts.
- It includes base Python plus most of the stuff you will need if (like me) you are hoping to use Python for data-science and data-analysis applications. Having these installed by default avoids some of the command-line package installation ARGH. (For me
the stuffis numpy, scipy, jupyter notebooks, matplotlib, and a few related packages.)
Install Anaconda
Simple: Go to https://www.anaconda.com/download/ and download the appropriate Windows installer. I installed the one for Python 3.6…consult Google if you are trying to figure out whether Python 2.7 or 3.6 is for you. So far 3.6 is working fine for me.
During the installation process:
- You probably do want to let the installer add the python path to your PATH environment variable. I did not do this and had to go back and do it manually later to get something or other to work (I think
somethingwas Jupyter notebooks with Matlab as the kernel). - Make sure to install to a directory such that there are no spaces in the path (i.e., C:\Program Files\Anaconda is not an optimal choice).
Set up Jupyter Notebooks
Jupyter notebooks are a nice way to do reproducible research with Python, and they also have extensions that let you work with other code languages including almost any you can think of (see https://github.com/jupyter/jupyter/wiki/Jupyter-kernels for a list).
Having installed Anaconda, most of the machinery to use Jupyter notebooks is already in place.
Using the Windows search bar or Start menu, find the Jupyter Notebooks app.

Right click on it and select Open File Location.
Now, you can either modify the properties of the shortcut in place, or make a copy of it (right click and then select Create shortcut) and put it in a convenient location (wherever you want to find and use it).
Right click on your shortcut and select Properties.
There are a few entries (or parts of entries) to modify.
This is how my properties looked before the changes (i.e., the original version, which did NOT actually launch a working Jupyter Notebook):
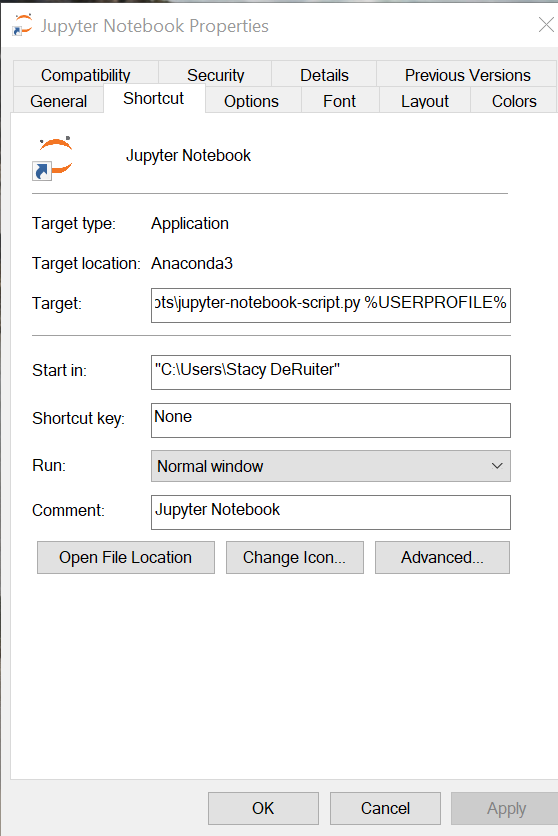
In the Target: field, change %USERPROFILE% to the full path to the folder in which you want your Jupyter notebooks to be saved. It should be a path with no spaces in it.
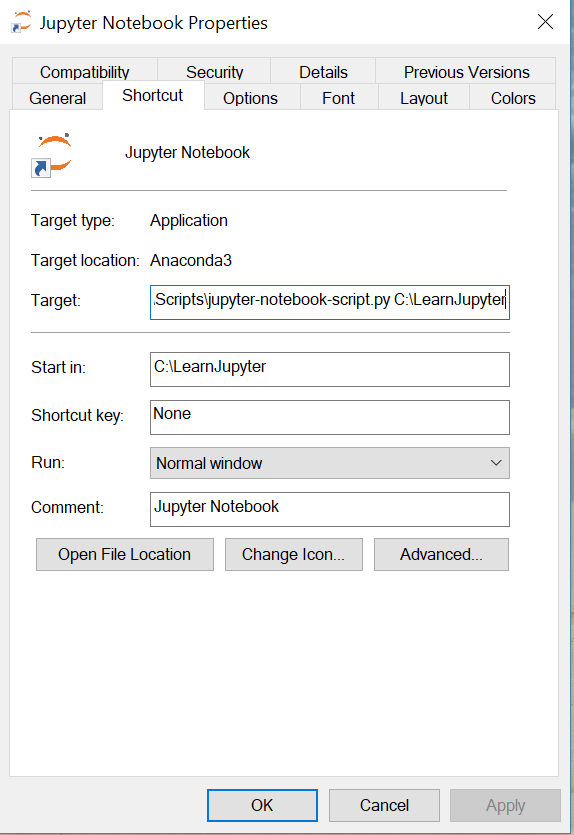
Change the Start in: field to the same path.
The image below shows what the properties of my working shortcut look like:
Side note: FOR REAL??? I can’t just choose where to save each individual notebook so that, for example, the notebook is stored with the project and data it goes along with???
It took me forever to take the time to sort this out, but of course you can choose the directory in which to store your notebooks. (I can’t be the only one who wants a notebook or two in the directory associated with each of my projects, can I? It can’t be true that most data scientists have just ONE folder with a pile of ipynb files in it. I refuse to believe it. Isn’t that a key part of reproducible research?) Anyway, it’s pretty simple. I just had to make sure that the Anaconda3 directory was in my PATH (https://www.h3xed.com/windows/how-to-add-to-and-edit-windows-path-variable), and then to open Jupyter in a specific directory (and save notebooks there), just shift-right click within the directory to open a command shell, and there type
jupyter notebookVoila!
Play!
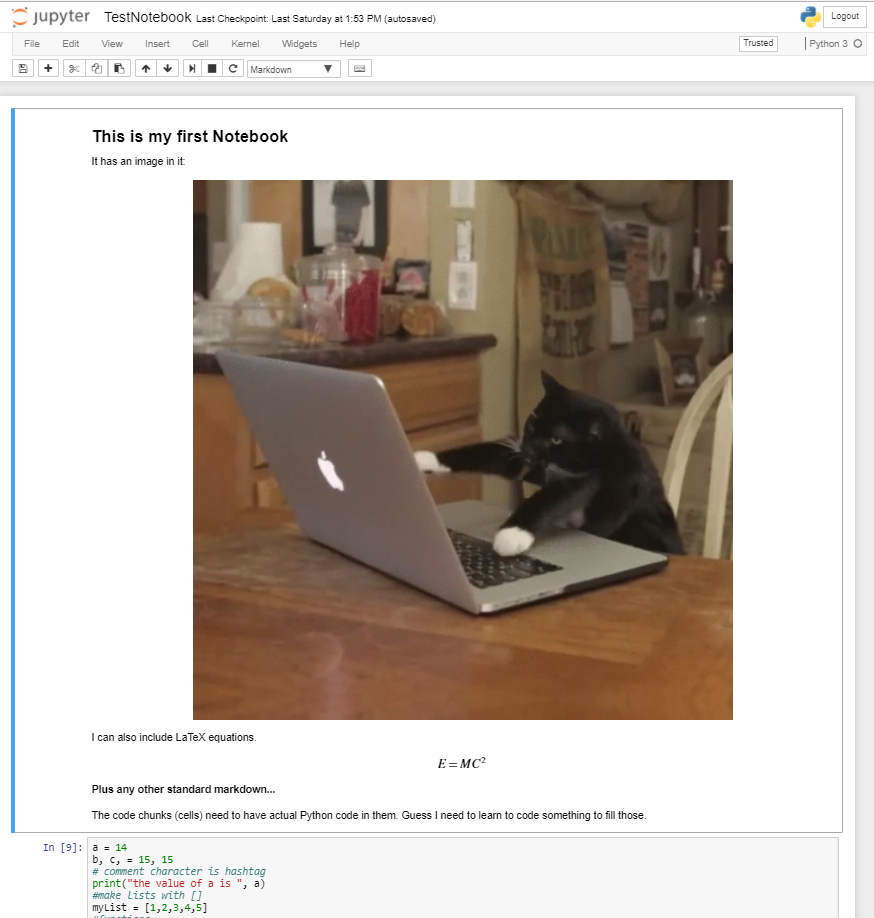
You should now be all set to use Python and Jupyter notebooks. Double-click on your nifty shortcut. A cmd window should open, shortly followed by a browser window like:
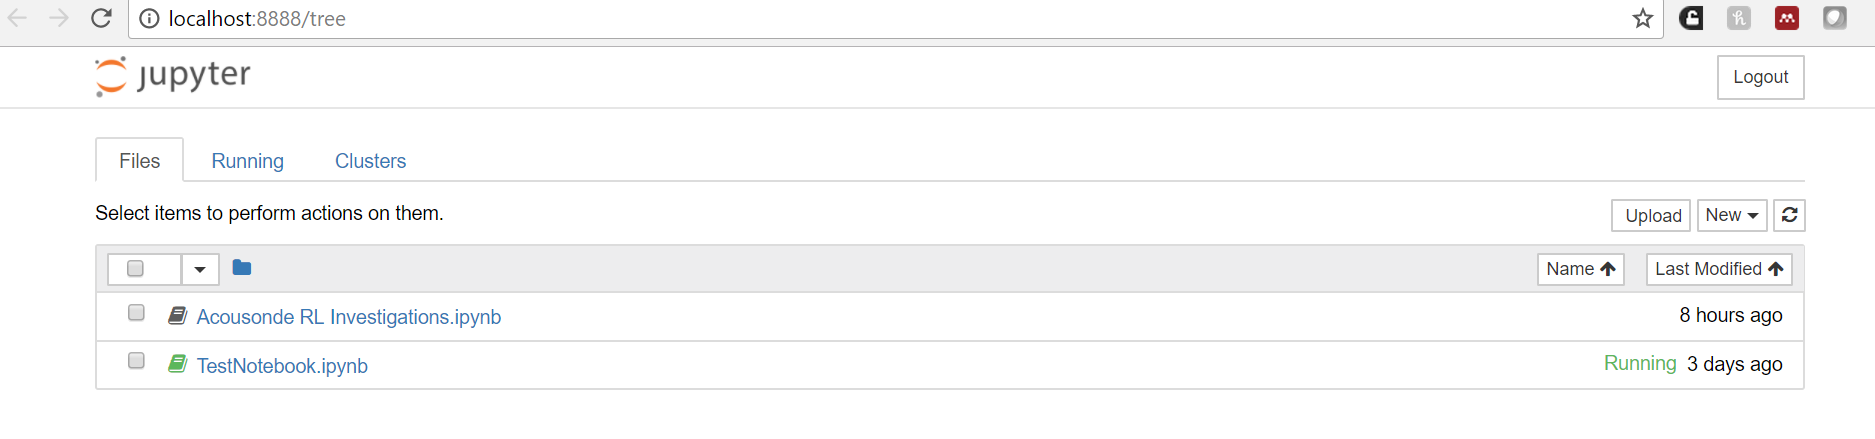
The notebook can contain markdown cells and code cells. Go ahead and outdo my first one…
Note that the Notebook is not really closed until you shut down the cmd window (closing the browser tabs does not do it).
Matlab kernel
The kernel in a Jupyter notebook is the machinery that lets you write and run code in a particular language within the code cells in the notebook. If you did all the stuff above, you should already be able to use the (default) Python kernel.
I wanted to be able to use Matlab too, in order to have a nice way to make reproducible research documents with Matlab (that are easy to share with people who do not even have Matlab).
I used the instructions at https://walczak.org/2017/07/using-matlab-in-jupyter-notebooks-on-windows/ as a guide here, but had to ad lib a bit.
Matlab and Python Version Compatibility
When I started this process, I was running Matlab 2017a and Python 3.6. Did not work – I needed to first update my Matlab to the test version of 2018a to get compatibility. Another option would be to use an older version of Python instead of the latest one, but I did not try that.
Install the Matlab Python Engine
I do not even really know what that means. But follow the directions at https://www.mathworks.com/help/matlab/matlab_external/install-the-matlab-engine-for-python.html and make sure it works without any errors before proceeding.
Editing your Path
Note that the instructions on the MathWorks site tell you to Add the folder that contains the Python interpreter to your path, if it is not already there. If you asked the Anaconda installer to do this for you on install, you should be all set. If you did not, then…
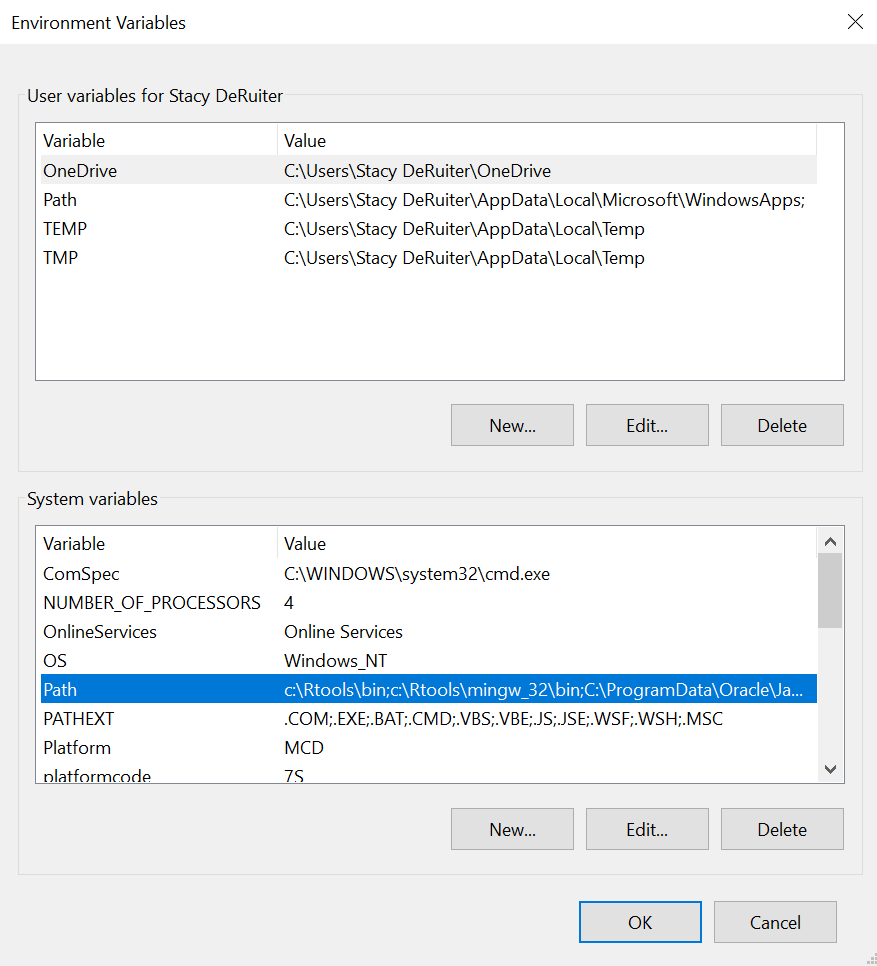
Type Environment Variables in the Windows search bar and click on Edit the system environment variables. In the resulting popup, click on the Environment Variables button near the bottom. In the System part of the next popup, click on Path and then the Edit button. If it is not already there, add a new entry that contains the path to the directory where the python executable is stored (should be the Anaconda folder, wherever you put that).
Install Python Packages to Make Matlab Kernel Work
Almost there. The next step is to install a few Python packages that make the Matlab kernel work.
Open an Anaconda Prompt window (you can look for it in the Start menu, or type Anaconda Prompt in the Windows search bar). The instructions I was using said to do this as an administrator (right click on the icon and choose Run as administrator), so I did, but I do not know if it matters or not.
In the window you get, run the following code:
pip install matlab_kernel
pip install pymatbridge
If it runs without errors, hurrah!
The Glorious Result
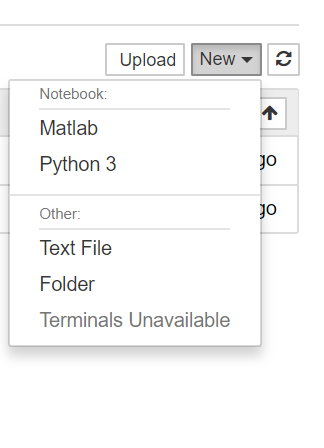
You should now be able to launch Jupyter notebooks and, when you create a new notebook, you should have the option to use either Matlab or Python as the kernel.